
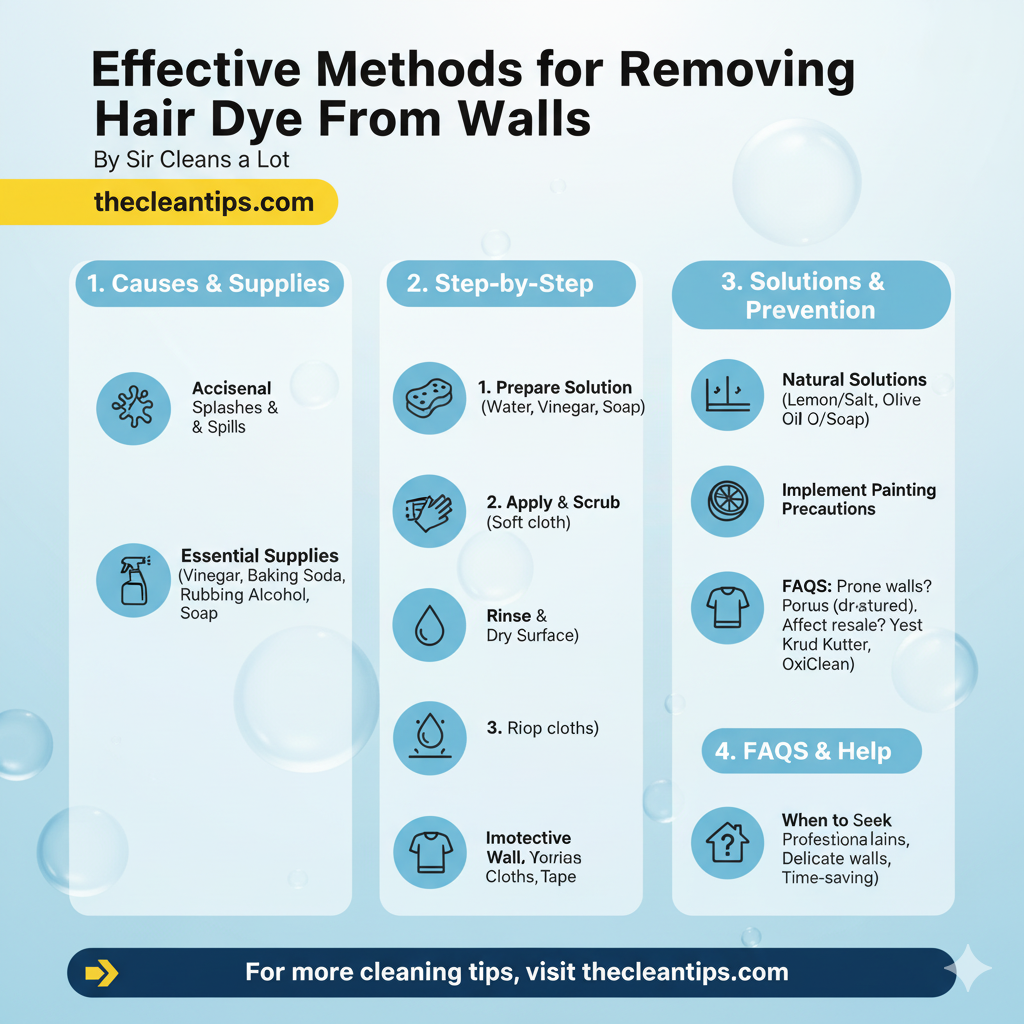
Effective methods for removing hair dye from a wall
I’ve had my fair share of mishaps when dyeing my hair at home, and trust me, I know how tricky it can be to remove hair dye from a wall. It’s a frustrating situation, especially when I realize that the vibrant color I wanted for my hair has turned into an unwelcome decoration on my walls. Over time, I’ve discovered some effective methods and essential supplies that make this cleaning task a whole lot easier. In this article, I’ll share my step-by-step techniques, as well as some natural solutions, to help you tackle those stubborn stains. Let’s dive in and ensure our walls stay as fresh as our hair!
Common Causes of Hair Dye Stains
I’ve noticed that hair dye stains often come from a few common culprits. Accidental splashes and spills are almost inevitable when I’m in a hurry, and improper dye application techniques can make things worse. Plus, if I don’t properly protect my surfaces, it can lead to a bigger mess than I expected.
Accidental Splashes and Spills
Accidental splashes and spills can really create a chaotic situation when I’m trying to dye my hair at home. I’ve found myself frantically trying to clean up the mess while worrying about the dye setting on the wall. Sometimes, I don’t even realize I’ve made a mess until it’s too late and the stain is already there. It’s frustrating when I’m focused on getting the perfect color and then have to deal with a wall that looks like a paint splatter. I always try to remind myself to be more careful next time, but it doesn’t always work out that way.
Improper Dye Application Techniques
Improper dye application techniques can really make a mess of things, especially when I’m not paying attention to the details. I’ve found that not using a brush or applicator properly can lead to stray drops everywhere. Sometimes I forget to secure my hair back, and it ends up touching the wall. I’ve also noticed that mixing dye too vigorously causes splatters that are hard to clean. In the chaos, I often overlook the importance of laying down protective coverings.
Insufficient Surface Protection
Insufficient surface protection can lead to stains that are hard to remove, and it’s something I often regret not paying more attention to. I’ve learned the hard way that a simple drop cloth can save me a lot of trouble. I sometimes think I’m careful enough, but it only takes one slip for a mess to happen. When I don’t cover surfaces, I’m left scrubbing and hoping for the best. Protecting my walls and floors really should be a priority every time I dye my hair.
Overly Frequent Dyeing Sessions
Overly frequent dyeing sessions can really take a toll on my hair’s health, making it dry and brittle. I can feel the difference after just a few applications, as my hair starts to lose its natural shine. Sometimes, I wonder if the vibrant color is worth the damage I’m causing. I’ve tried to switch to less harsh dyes, but the wear and tear seem inevitable. It’s a constant battle between keeping my hair looking good and maintaining its health.
Essential Cleaning Supplies
Essential cleaning supplies like vinegar and baking soda can make a big difference when tackling hair dye stains on walls. I’ve found that vinegar cuts through the dye effectively without damaging the paint. When I mix baking soda with water, it creates a paste that’s great for scrubbing. I usually apply the paste directly onto the stain and let it sit for a few minutes. Then, I gently scrub with a soft cloth to lift the dye away.
Sometimes, I add a little dish soap to the mixture for extra cleaning power. If the stain’s stubborn, I’ve used rubbing alcohol on a cotton ball, and it works wonders. I always test a small area first to ensure it won’t harm the wall. These essential supplies make the process so much easier and give me peace of mind.
Step-by-Step Cleaning Techniques
Now that I’ve got my essential cleaning supplies ready, it’s time to dive into some step-by-step cleaning techniques. I’ll guide you through the effective methods I use for removing hair dye from walls. Let’s get started with the first point: gathering the necessary supplies.
Gather Necessary Supplies
I’ve made a list of all the supplies I need to effectively tackle the hair dye on my walls. I’ve included some rubbing alcohol and cotton balls for spot cleaning. I’ve also got a sponge and a bucket of warm soapy water ready to go. A scrub brush is on my list for those stubborn spots that won’t budge. Lastly, I’ve stocked up on some old towels to help with the drying process.
Prepare the Cleaning Solution
The cleaning solution I’m preparing needs to be strong enough to tackle any stubborn stains. I’m mixing equal parts of warm water and white vinegar for a natural approach. Then, I’ll add a few drops of dish soap to enhance its effectiveness. After that, I’ll stir the mixture until everything’s well combined. Finally, I’ll pour it into a spray bottle for easy application.
Apply and Scrub Gently
Applying the cleaning solution and scrubbing gently makes a noticeable difference in removing stubborn stains. I’ve found that using a soft cloth helps prevent any damage to the wall’s surface. It’s important to work in small sections to ensure I’m not missing any spots. After scrubbing, I rinse the area with clean water to remove any residue. Finally, I step back to check my progress and tackle any remaining discoloration.
Rinse and Dry Surface
Rinsing and drying the surface is crucial to ensure no residue remains after cleaning. I always use clean water to rinse the area thoroughly. After rinsing, I grab a soft cloth to gently wipe down the wall. It’s important to dry the surface completely to prevent streaks. Once I’m done, I step back to check if any dye is still visible.
Natural Solutions for Dye Removal
Natural solutions for dye removal can be surprisingly effective, and I’ve found that vinegar mixed with baking soda works wonders. I just create a paste and apply it directly to the stained area. After letting it sit for a bit, I gently scrub it with a cloth. It’s amazing how well it lifts the color without damaging the wall. Another method I’ve tried is using lemon juice with salt. I squeeze the juice onto the stain and sprinkle salt over it. Then, I let it sit for a while before wiping it clean. Olive oil mixed with dish soap has also been a lifesaver for tougher stains. Each time, I’m reminded that nature often provides the best solutions.
Preventive Measures for the Future
I’m always looking for ways to prevent dye mishaps in the future. By taking some simple precautions, I can save myself a lot of trouble down the line. Here are a few measures I’ve found effective.
Use Protective Wall Coverings
Protective wall coverings have really saved my walls from unwanted stains during dyeing sessions. I’ve tried various options, and the peel-and-stick vinyl works wonders. It’s so easy to apply, and I can remove it without any hassle afterward. Plus, it gives me peace of mind knowing my walls are safe from splatters. I can’t imagine dyeing without these coverings anymore.
Opt for Non-Permanent Dyes
Opting for non-permanent dyes has made my hair coloring experience much less stressful. I love knowing that if I make a mistake, it won’t be a long-term commitment. It’s so refreshing to try different shades without worrying about the damage. Plus, the application feels like a fun experiment rather than a chore. I find it easier to enjoy the process when I know I can easily change my mind.
Implement Painting Precautions
Implementing painting precautions has really helped me avoid messes and make the process smoother. I always lay down drop cloths to catch any spills before I start. I make sure to tape off edges to keep the dye from bleeding onto surfaces. I’ve gotten into the habit of wearing old clothes that I don’t mind getting stained. These small steps save me a lot of cleanup time later on.
When to Seek Professional Help
Knowing when to seek professional help can save me a lot of time and frustration when dealing with stubborn hair dye stains. I often find myself wrestling with different cleaning methods, but sometimes they just don’t cut it. If I notice the stain spreading or deepening, I know it’s time to call in the experts. When I’ve tried multiple DIY solutions without success, I realize I’m in over my head. If the wall material is delicate or painted with special finishes, I probably shouldn’t risk damaging it further. I’ve learned that certain dyes can be more challenging than others, and some might require specific treatments. If I’m short on time or feel overwhelmed, getting professional help can be a relief. It’s important for me to recognize when the situation calls for a skilled hand. In the end, choosing to seek help can lead to a cleaner result and peace of mind.
Frequently Asked Questions
What types of walls are most susceptible to hair dye stains?
I’ve noticed that porous surfaces like drywall or textured paint tend to be the most susceptible to hair dye stains. They absorb the dye more easily, making it harder to clean up once it’s set in.
Can hair dye stains affect the resale value of a home?
I’d say hair dye stains can definitely affect the resale value of a home, especially if potential buyers see them as a sign of poor maintenance. It’s important to address any visible stains to make a better impression and potentially boost the home’s appeal.
Are there any specific brands of cleaning products that are more effective for removing hair dye?
I’ve found that some brands like Krud Kutter and OxiClean work really well for tough stains, including hair dye. However, it’s always best to test a small area first to make sure it won’t damage the surface.
Conclusion
In summary, tackling hair dye stains on walls can be manageable with the right techniques and materials. I’ve found that using natural solutions alongside effective cleaning products often yields the best results. It’s also crucial to take preventive steps to protect surfaces during dyeing sessions. If stains persist or the situation feels overwhelming, seeking a professional’s help can be a wise choice. Ultimately, maintaining clean walls not only enhances my living space but also preserves the value of my home.
If you’re looking to keep your home sparkling clean, you might also find it helpful to learn about effective methods for cleaning your smart TV. For tips and tricks on maintaining your electronics without damaging them, visit this informative page: Effective Methods on How to Clean a Smart TV. It’s a great resource to enhance your cleaning routine!

Sir Cleans a Lot is a professional home cleaning specialist with over 10 years of hands-on experience. He has helped thousands of homeowners tackle stubborn stains, eliminate mold, and keep their homes spotless using practical, science-backed methods. When he’s not testing the latest cleaning products or researching stain removal techniques, he’s sharing his expertise to make cleaning easier for everyone.