
How to Fix Sticky Keyboard Keys: 5 Proven Methods That Actually Work
A sticky key is rarely a sign that your keyboard is dead. In most cases, it’s a layer of dried sugar, dust, or grease sitting between the keycap and the switch mechanism. The fix is straightforward: dissolve the residue, flush it out, and let everything dry completely. Below are five proven methods to fix sticky keyboard keys, ordered from least invasive to most thorough, so you can stop at the first one that works for your situation.
Diagnose the Problem Before You Touch a Tool
Before you grab any cleaning supplies, take 30 seconds to figure out what you’re actually dealing with. This determines which method will work fastest and prevents you from wasting time on the wrong approach.
Likely causes of sticky keys:
- Spilled sugary drinks (soda, juice, coffee with sugar) — these leave a tacky film that hardens over time
- Dust and pet hair — these bind with skin oils to create a gritty paste under the keycap
- Food crumbs — often combined with grease, especially around the spacebar and number row
- Aging rubber domes — on older membrane keyboards, the rubber dome itself can degrade and feel sticky even when clean
What you’ll need (most methods use these):
- Isopropyl alcohol (91% or higher — the 70% stuff leaves too much water behind)
- Cotton swabs or a soft microfiber cloth
- Compressed air (optional but helpful)
- A keycap puller (or a paperclip if you don’t have one)
- A small bowl or dish for soaking
Early checkpoint: If the sticky key is also visibly sunken, cracked, or wobbles side-to-side, skip straight to Method 5. That’s a mechanical failure, not a cleaning issue. No amount of alcohol will fix a broken switch mechanism.
Method 1: The Quick Surface Wipe (For Mild Stickiness)
If the key only sticks occasionally — say, once every ten presses — you likely have a thin film of residue on the keycap’s surface or the top of the switch stem. You don’t need to disassemble anything yet.
Step-by-step:
1. Power down and unplug your keyboard. If it’s a laptop, shut it down completely.
2. Tilt the keyboard at a 75-degree angle and use compressed air to blow out loose debris. Work from the back toward the front so crumbs exit rather than lodge deeper.
3. Dampen a cotton swab with 91% isopropyl alcohol. It should be moist, not dripping.
4. Wipe around the base of the sticky key, pressing the swab gently between the keycap and the keyboard frame. Rotate the swab as you go so you’re always using a clean side.
5. Press the key 10–15 times to work the alcohol into the mechanism. The alcohol dissolves the sugars and oils, and the repeated presses distribute it evenly.
6. Wait 10 minutes for the alcohol to evaporate, then test.
Success check: If the key feels consistent with its neighbors — same resistance, same sound, no catching — you’re done. If it still catches on the way down or feels slow to return, move to Method 2.
Why this works: Isopropyl alcohol is a solvent that breaks down the organic compounds in sugary spills and skin oils. It evaporates quickly and leaves no residue of its own — which is why the 91% concentration matters. Lower concentrations introduce water, which can seep into the switch and cause corrosion over time.
Method 2: Keycap Removal and Deep Cleaning (For Stubborn Residue)
When surface wiping doesn’t cut it, the residue is likely underneath the keycap, not on top of it. Removing the keycap gives you direct access to the switch stem and the inside of the cap itself.
Step-by-step:
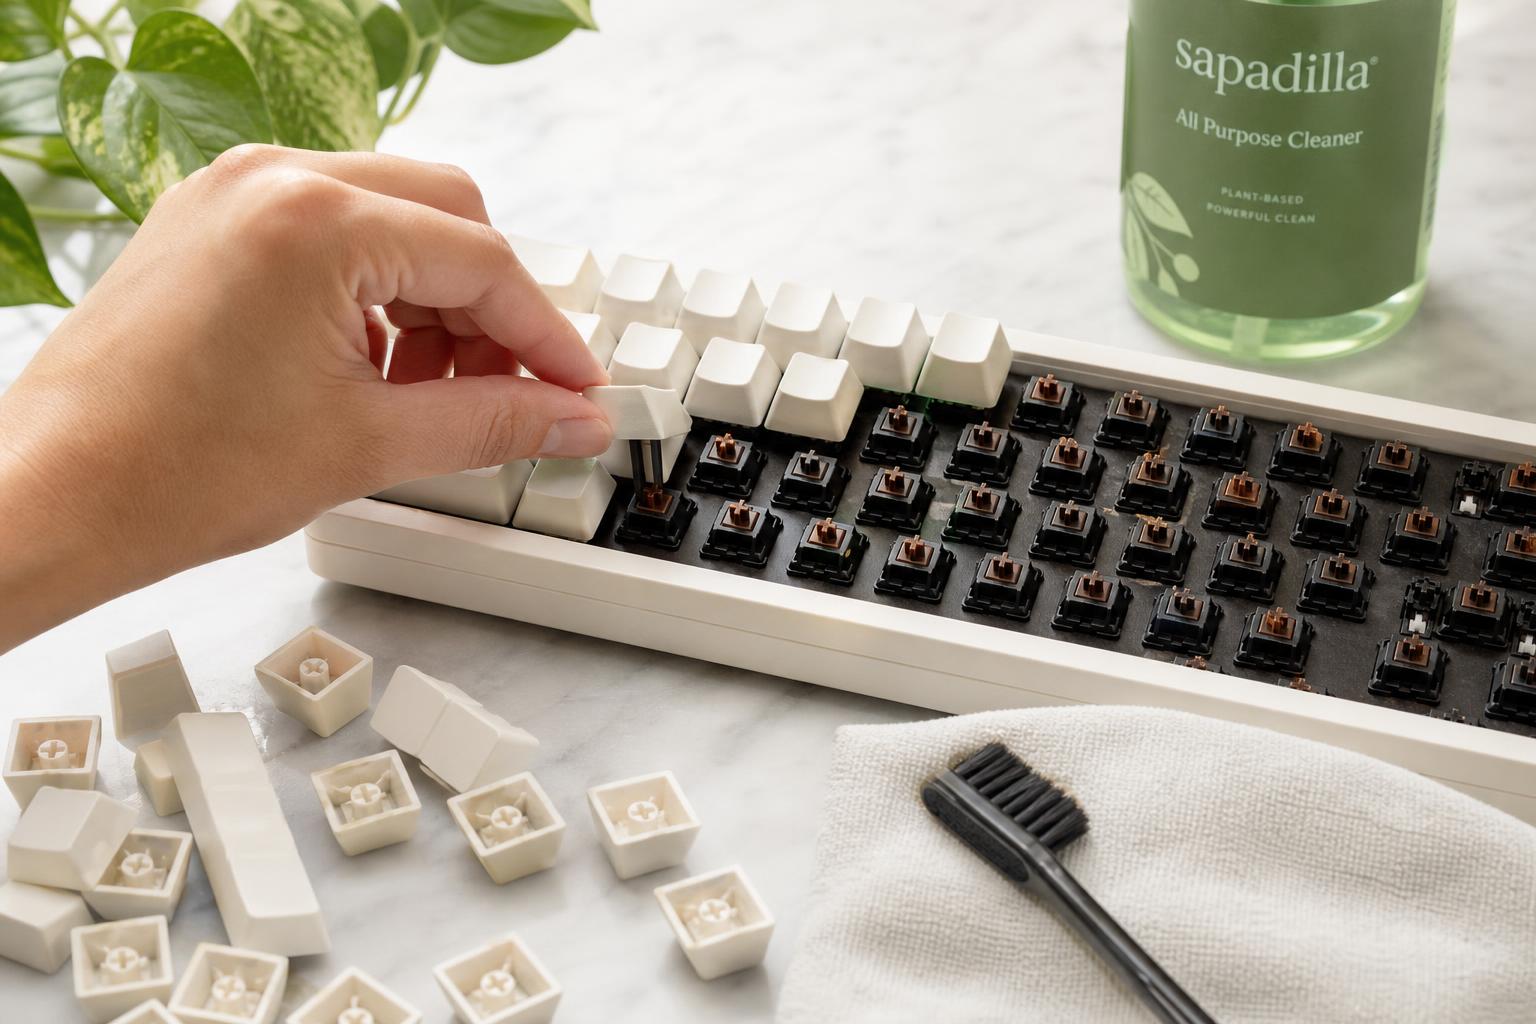
1. Unplug your keyboard and take a photo of the key layout if you’re removing more than one key. You’ll thank yourself later.
2. Use a keycap puller to gently lift the keycap straight up. If you don’t have a puller, bend a paperclip into a U-shape and hook it under two opposite corners. Pull with even pressure — do not twist.
3. Inspect the underside of the keycap. You’ll likely see a brownish or clear film. This is the residue.
4. Soak the keycap in a small bowl of warm water with a drop of dish soap for 10–15 minutes. For heavy buildup, add a splash of isopropyl alcohol to the water.
5. Scrub the keycap with an old toothbrush, paying attention to the cross-shaped stem hole inside.
6. Clean the switch stem (the part still on the keyboard) with a cotton swab dipped in 91% alcohol. Press the stem down a few times while the swab is pressed against it to work the solvent into the housing.
7. Rinse the keycap in clean water, shake off excess, and let it air dry completely. This takes 20–30 minutes.
8. Reinstall the keycap by aligning the cross-shaped hole with the stem and pressing straight down until you feel it click.
Friction point: The spacebar, Shift, and Enter keys often have a metal stabilizer bar underneath. When you remove these, note how the bar sits in the plastic clips. Reinstalling requires you to seat the bar into the clips before pressing the keycap fully down. If the key feels uneven after reinstallation, remove it and try again.
Failure mode to watch for: If you force a keycap back on without aligning the stabilizer bar properly, the key will feel mushy or tilted. This is a common mistake that leads people to think they’ve damaged the switch when they’ve actually just misaligned the stabilizer. Remove the keycap, reseat the bar, and try again.
Method 3: The Alcohol Flush (For Debris Inside the Switch)
Sometimes the residue has worked its way past the stem and into the switch housing itself. This is common with mechanical keyboards where the switch is an open unit. The flush method pushes solvent through the switch to carry debris out.
Step-by-step:
1. Remove the keycap as described in Method 2.
2. Tilt the keyboard so the affected switch is facing downward at about a 45-degree angle.
3. Apply 3–5 drops of 91% isopropyl alcohol directly into the switch opening. You can use a dropper or a syringe for precision.
4. Press the switch stem rapidly 20–30 times. This acts as a pump, moving the alcohol around the internal contact points and flushing debris toward the bottom.
5. Blow compressed air into the switch from the top to force out any remaining liquid and debris.
6. Let it dry for 30–60 minutes. Alcohol evaporates quickly, but give it extra time if you used more than a few drops.
7. Test the switch before reinstalling the keycap. It should feel crisp and consistent.
Why this works: The alcohol acts as a carrier fluid. It dissolves the sticky residue and suspends the loose particles, so the pumping action and compressed air can physically remove them. This is the same principle behind contact cleaner for electronics.
Pitfall to avoid: Do not use WD-40 or any oil-based lubricant for this flush. It will leave a film that attracts more dust, and it can degrade the plastic switch housing over time. Stick with isopropyl alcohol.
Drying time note: If you’re in a humid environment, drying can take longer. You can speed it up by placing the keyboard near a fan or in a warm (not hot) room. Never use a hairdryer on high heat — you risk warping the plastic keycaps.
Verification step: After the drying period, press the key 20 times in quick succession. It should return to its resting position every single time without hesitation. If it sticks on even one press, the residue is still present — repeat the flush once before considering more invasive options.
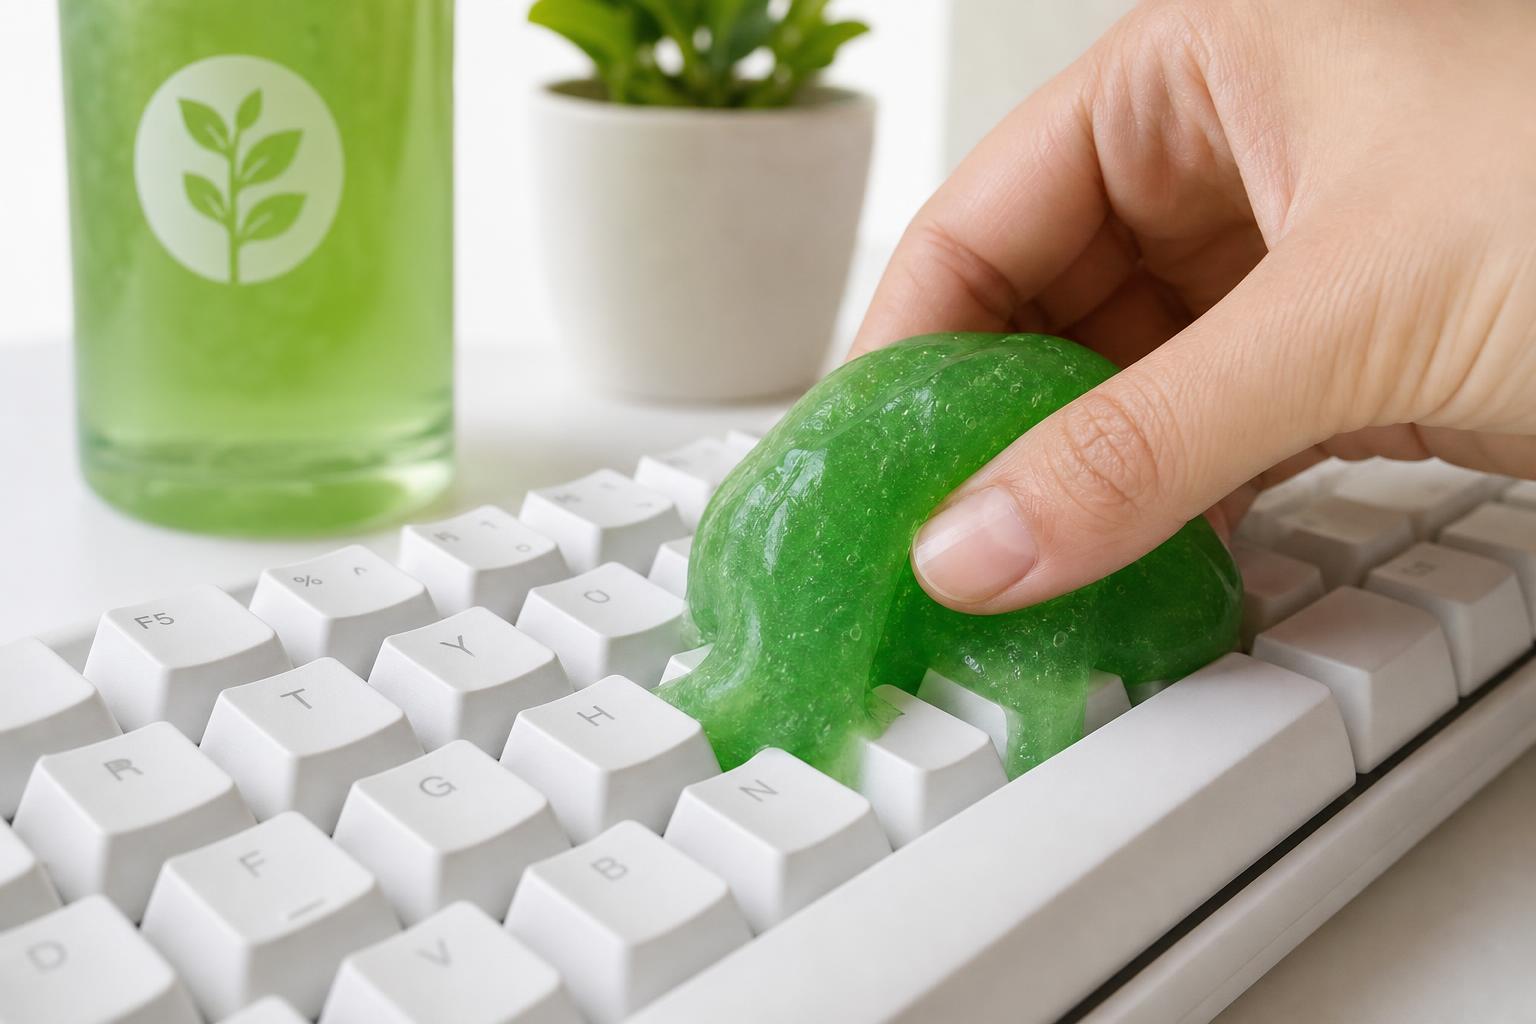
Method 4: The Keyboard Cleaning Gel (For Hard-to-Reach Gaps)
If you’re dealing with a laptop keyboard or a low-profile keyboard where keycaps aren’t removable, a keyboard cleaning gel is your best option. This is a tacky, slime-like substance that you press into the gaps between keys to lift dust, crumbs, and loose residue.
Step-by-step:
1. Power down the laptop and unplug it.
2. Press the gel gently onto the sticky key and the surrounding area. Do not push hard — you don’t want to force the gel under the keycap.
3. Lift the gel straight up and inspect it. You’ll see the debris embedded in the surface.
4. Fold the gel to expose a clean surface and repeat 2–3 times.
5. For the sticky residue itself, press the gel onto the keycap and hold for 5 seconds, then peel off slowly. The tackiness can pull up thin films of dried sugar.
When this works best: Cleaning gels excel at removing loose debris from tight spaces. They are less effective at dissolving adhered residue. If the key feels sticky because of a dried sugar film, the gel alone won’t fix it — you’ll need to pair it with a cotton swab and alcohol applied around the key edges.
Limitation to know: On laptop keyboards, you cannot remove individual keycaps without risking damage to the scissor mechanism underneath. The gel is a safe, non-invasive way to improve key feel, but it won’t fix a key that’s sticky due to liquid that has seeped under the keycap and dried on the membrane layer. For that, you’d need to disassemble the laptop, which is a repair-shop job.
Success check: After using the gel, the key should feel noticeably smoother. If it still sticks, the residue is below the keycap surface, and you should consider professional cleaning or keyboard replacement.
Method 5: Full Disassembly and Ultrasonic Cleaning (For Mechanical Keyboards)
If you have a mechanical keyboard and the previous methods haven’t resolved the issue, the switch itself may be contaminated beyond what a flush can fix. This is the most involved method, but it’s also the most thorough.
Step-by-step:
1. Remove all keycaps and set them aside for soaking.
2. Desolder the affected switch from the PCB if your keyboard has a soldered PCB. If your keyboard has hot-swappable switches, simply pull the switch out with a switch puller.
3. Disassemble the switch by opening the top housing. You’ll see the stem, spring, and contact leaves.
4. Soak the switch components in 91% isopropyl alcohol for 15–20 minutes.
5. Scrub the contact leaves gently with a soft brush to remove any oxidation or residue.
6. Let all components dry completely — at least 30 minutes.
7. Reassemble the switch, making sure the spring is seated correctly and the stem moves freely.
8. Reinstall the switch (solder it back or press it into the hot-swap socket).
9. Test the switch with a keyboard tester tool before reinstalling keycaps.
When to escalate: If you’re not comfortable desoldering, or if your keyboard is still under warranty, stop at Method 3 and contact the manufacturer. Opening a switch typically voids warranties, and a replacement keyboard may be more cost-effective than the labor involved.
Decision criterion: If your keyboard costs less than $50 and is more than two years old, a full disassembly is rarely worth the effort. A replacement keyboard will cost about the same as the tools and time you’d invest. If your keyboard is a high-end model ($150+), the disassembly is justified.
Stop threshold: If you’ve completed Method 3 (the alcohol flush) twice and the key still sticks, and your keyboard is under warranty, stop DIY attempts and file a warranty claim. If the keyboard is out of warranty and the key is physically damaged, further cleaning won’t help — the switch mechanism itself needs replacement. Continuing to press a damaged key can damage the PCB underneath, turning a $5 switch replacement into a $100 board repair.
How to Prevent Sticky Keys in the Future
Prevention is simpler than any fix. A few habits will keep your keys moving freely:
- Keep drinks away from your workspace. If you must have a beverage nearby, use a bottle with a tight lid, not an open cup.
- Wash your hands before typing. Skin oils are a primary binding agent for dust.
- Cover your keyboard when not in use, especially if you have pets.
- Clean your keyboard monthly with compressed air and a quick surface wipe. This takes two minutes and prevents buildup.
- Use a keyboard cover for laptops — they’re cheap and catch most debris before it reaches the keys.
Recurrence pattern to watch for: If a key you’ve cleaned becomes sticky again within two weeks, the residue wasn’t fully removed — it’s still in the switch housing, just redistributed. This is a sign you need the deeper flush from Method 3, not another surface wipe. Alternatively, if the stickiness returns after a month or more, it’s likely new debris, not leftover residue.
Frequently Asked Questions
How long does it take for a keyboard to dry after cleaning?
It depends on the method. A surface wipe with 91% isopropyl alcohol dries in 5–10 minutes. A keycap soak requires 20–30 minutes for the caps to air dry. A full switch flush can take 30–60 minutes, and a complete disassembly needs at least 30 minutes for all components to dry. In humid environments, add 50% more time. Never rush this step — plugging in a damp keyboard risks short-circuiting the PCB.
Can I use 70% isopropyl alcohol instead of 91%?
You can, but it’s not ideal. The 70% concentration contains more water, which takes longer to evaporate and can leave mineral deposits inside the switch. If 70% is all you have, use it sparingly and give the keyboard extra drying time. For the best results, pick up 91% or higher — it’s available at most drugstores and electronics retailers.
Will a sticky key fix itself over time?
No. In fact, it usually gets worse. The residue continues to attract dust and oils, which thickens the film and makes the key stick more frequently. The only exception is if the stickiness is caused by a temporary humidity issue, which resolves when the environment dries out. If the key has been sticky for more than a few days, cleaning is required.
Is it safe to use water instead of alcohol?
Water alone will not dissolve the sugars and oils in most spills — it just spreads them around. It also takes much longer to dry and can cause corrosion if it seeps into the switch contacts. Use isopropyl alcohol for the reasons described above. If you’re cleaning keycaps only (not the keyboard itself), warm soapy water is fine.
When should I replace the keyboard instead of cleaning it?
Replace the keyboard if: the key is physically damaged (sunken, cracked, or wobbling), the switch fails to register presses even after cleaning, or the keyboard is a low-cost model where replacement is cheaper than the time investment. For laptops, if multiple keys are sticky and the issue returns within a week of cleaning, the membrane layer underneath is likely damaged — that’s a repair-shop job or a reason to consider a new laptop.
Final Thoughts
Fixing sticky keys is a matter of matching the method to the cause. Start with the surface wipe, escalate to keycap removal, and only move to full disassembly if you have a keyboard worth saving. The alcohol flush method resolves the majority of cases, and the cleaning gel is a solid option for laptops where keycaps aren’t removable.
The most important takeaway: act quickly when a spill happens, and clean proactively once a month. A few minutes of prevention saves you the hour-long cleaning session later. If you’ve tried the methods above and the key still sticks, the issue is mechanical, not chemical — and that’s when you should consider a replacement.
Explore This Topic

Sir Cleans a Lot is a professional home cleaning specialist with over 10 years of hands-on experience. He has helped thousands of homeowners tackle stubborn stains, eliminate mold, and keep their homes spotless using practical, science-backed methods. When he’s not testing the latest cleaning products or researching stain removal techniques, he’s sharing his expertise to make cleaning easier for everyone.
