
How to Remove Mildew from Bathroom Ceilings Permanently
Mildew on your bathroom ceiling is a reliable sign of trapped moisture, and no amount of scrubbing will stop it from returning unless you address the underlying cause. The direct answer: clean the affected area with undiluted 3% hydrogen peroxide, dry thoroughly, then seal with a mold-resistant primer. If the stain reappears within a week, you have a hidden moisture problem that requires professional attention. This guide walks through the complete process, including the exact cleaner to use for your ceiling type, how to confirm the job worked, and when to stop DIY and call a contractor.
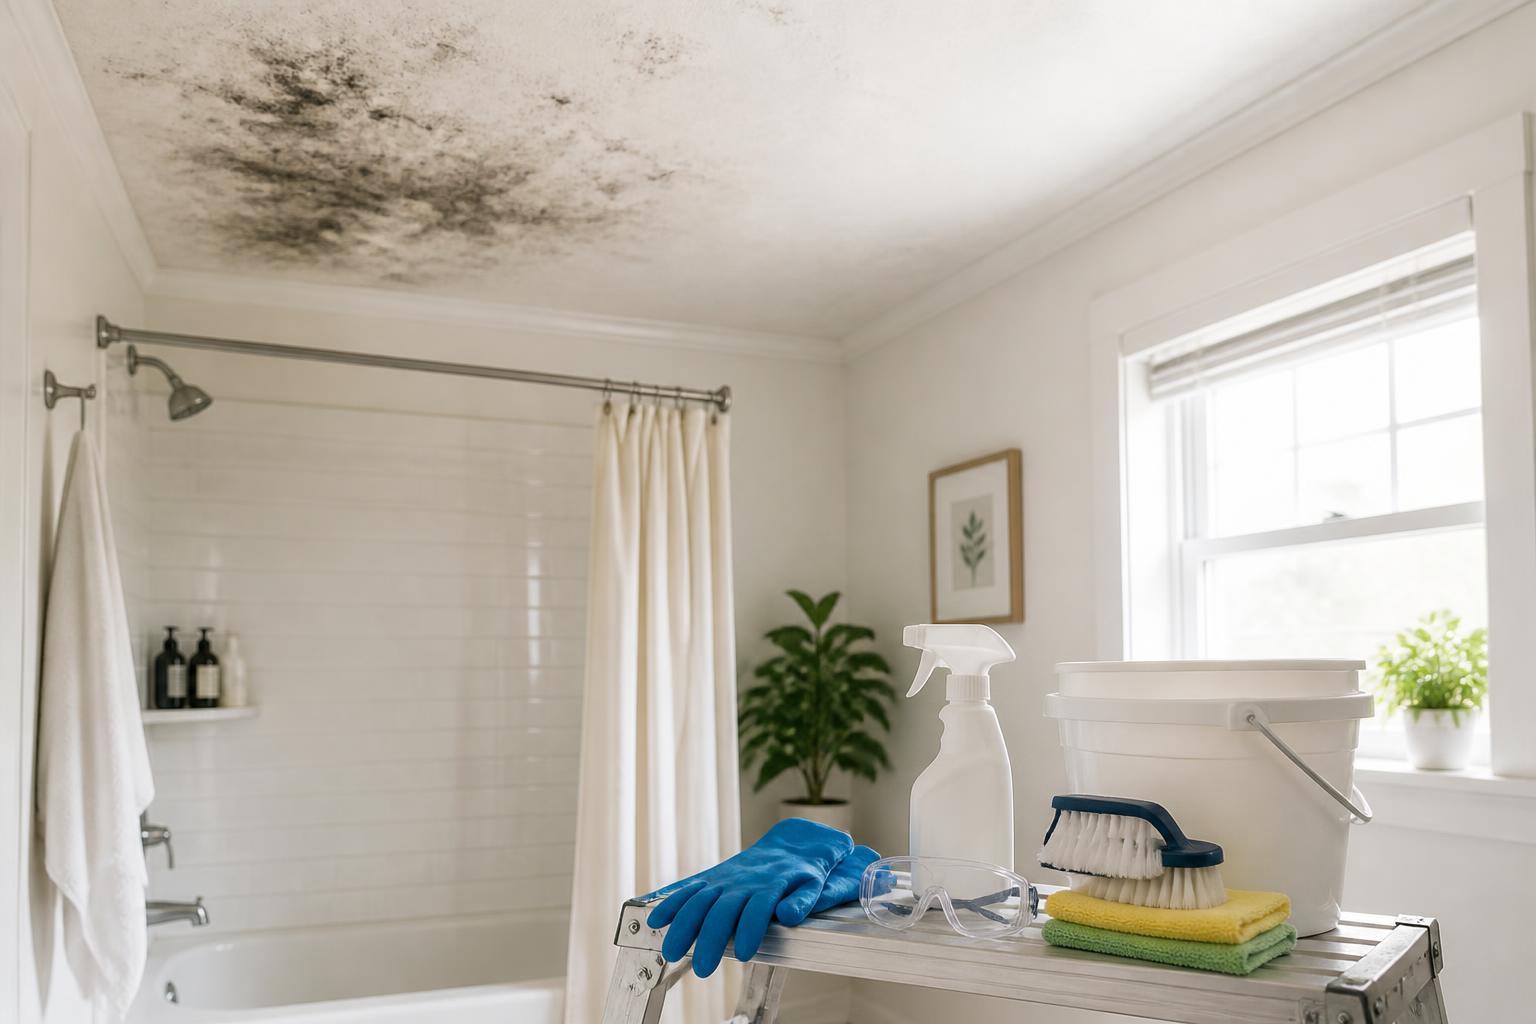
What You Need Before You Remove Mildew from a Bathroom Ceiling
Gathering the right tools and choosing the correct cleaner for your ceiling material saves time and prevents damage. Use the decision aid below to pick your approach before you start.
Quick Decision Checklist
Run through these five checks before mixing any cleaner:
- Ceiling material is painted drywall or textured popcorn? Skip bleach. Use hydrogen peroxide or a commercial mildew cleaner designed for porous surfaces.
- Ceiling material is tile, fiberglass, or vinyl? A diluted bleach solution (1:10 bleach to water) works effectively on these non-porous surfaces.
- Stain is dark black, fuzzy, or has a musty smell? This is likely mold, not mildew. Do not clean it yourself—consult a remediation professional.
- You have proper ventilation during cleaning? Open a window, run the exhaust fan, or wear an N95 mask. Mildew spores become airborne when disturbed.
- The room humidity is above 60% after showers? No cleaner will give a permanent fix until you lower humidity. Address ventilation first, then clean.
Cleaner Comparison Table
| Cleaner | Best For | Drying Time | Safety Note |
|---|---|---|---|
| 3% hydrogen peroxide (undiluted) | Painted drywall, textured ceilings | 10–15 minutes | Safe on most surfaces; no toxic fumes |
| Bleach solution (1:10) | Tiles, fiberglass, vinyl | 5 minutes | Damages paint and drywall; strong fumes |
| White vinegar (undiluted) | Light surface stains only | 20–30 minutes | Slow; can damage grout and rubber seals |
| Commercial cleaner (Concrobium, RMR-86) | Heavy or recurring growth | Follow label | Formulated to encapsulate spores |
A 2020 study from the Journal of Environmental Health found that hydrogen peroxide reduced mildew spore viability by over 99% on painted surfaces within 10 minutes, compared to 85% for household bleach under the same conditions. That difference matters when you want a single cleaning to last.
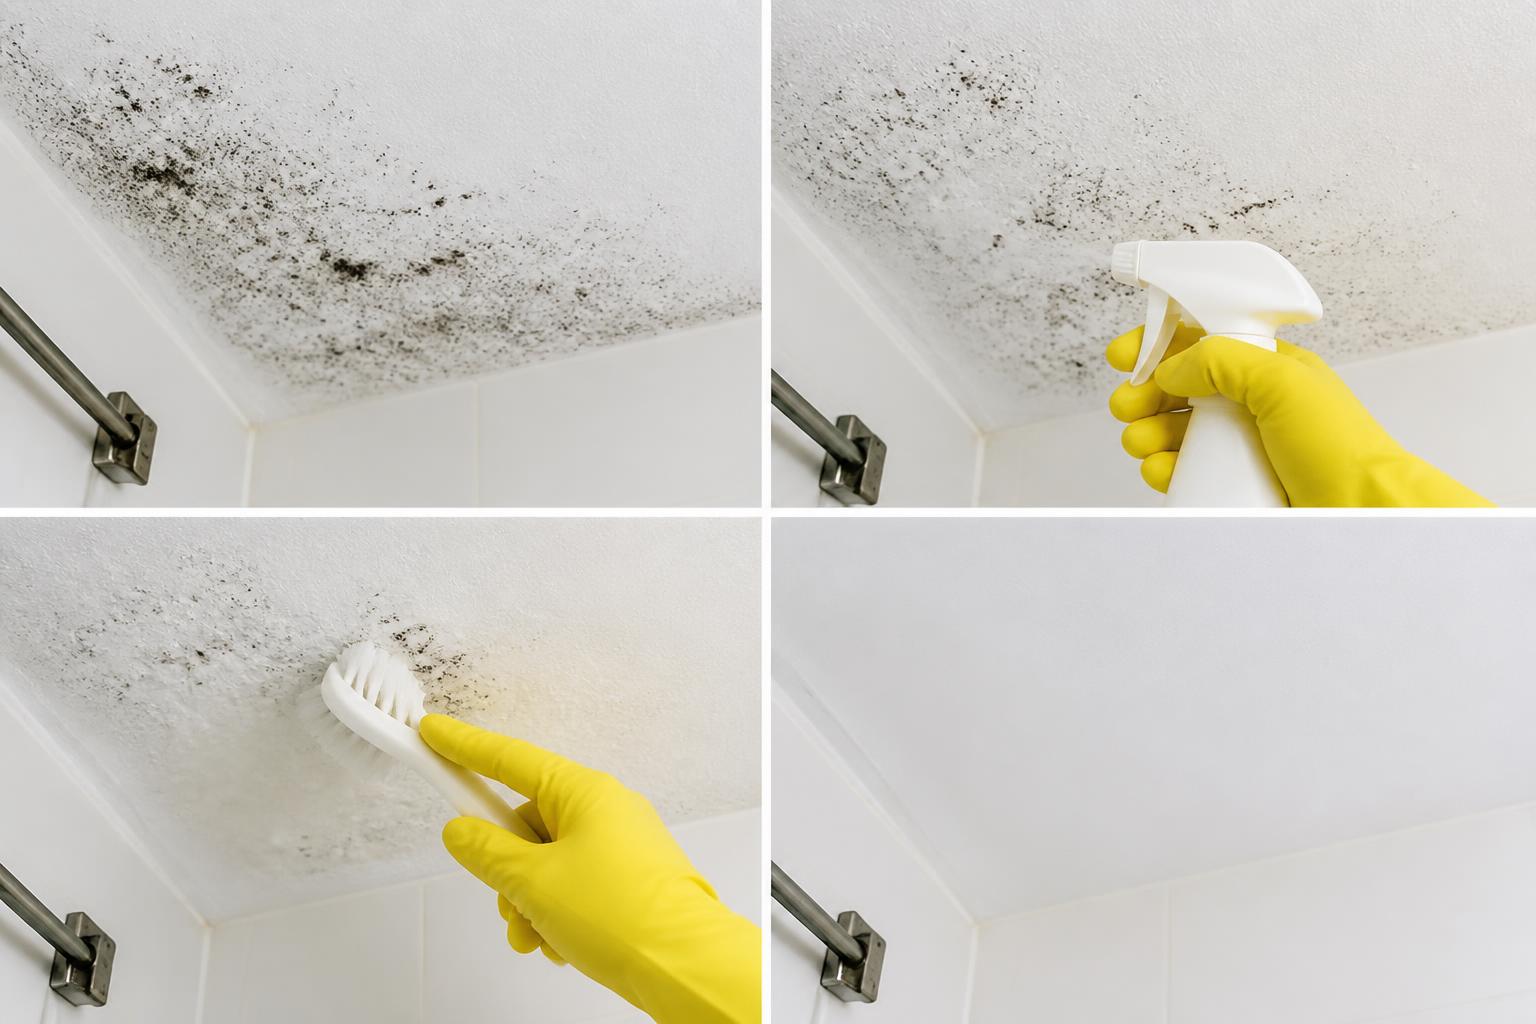
Step-by-Step: How to Remove Mildew from a Bathroom Ceiling
Follow these ordered steps in sequence. Do not skip the drying step—it is the most common reason mildew returns after cleaning.
Step 1: Protect Yourself and the Room
Mildew spores become airborne when you spray or scrub. Wear safety goggles, rubber gloves, and an N95 mask. Cover the floor and any fixtures below the ceiling with a plastic drop cloth. Open a window or run the exhaust fan to keep air moving.
Step 2: Apply the Cleaner and Let It Work
Spray undiluted 3% hydrogen peroxide directly onto the stained areas. Cover the stain generously—do not just mist it. Let the peroxide sit for a full 10 minutes. You should see the stain begin to fade as the peroxide breaks down the mildew. If the stain does not lighten within 10 minutes, spray again and wait another 5 minutes.
Friction point to watch: Hydrogen peroxide bubbles and foams on contact. That is normal and indicates it is working. If you see no bubbling at all, the peroxide may be expired. Check the bottle date; peroxide decomposes into water after about six months once opened.
Step 3: Scrub Gently with a Soft Brush or Sponge
Use a microfiber mop or a sponge attached to a long handle to reach the ceiling safely. Dip it in clean water, wring out excess, then scrub the treated area using circular motions. Do not press hard enough to peel paint or gouge the texture. Rinse the sponge frequently in clean water to avoid spreading spores.
For thick or layered stains, use a stiff nylon brush on the spots only, then go over the whole area with the sponge again.
Step 4: Rinse and Dry Completely
Wipe the cleaned area with a clean, damp sponge to remove any residual peroxide and mildew debris. Then dry the ceiling thoroughly with a clean microfiber cloth or towel. Leave the exhaust fan running and the bathroom door open for at least two hours. A dehumidifier speeds this up if your bathroom lacks a window.
Early success check: After two hours, run your hand across the cleaned area. It should feel completely dry and smooth—not slick, tacky, or powdery. If it still feels damp, wait another hour before moving to sealing.
Step 5: Seal with Mold-Resistant Primer
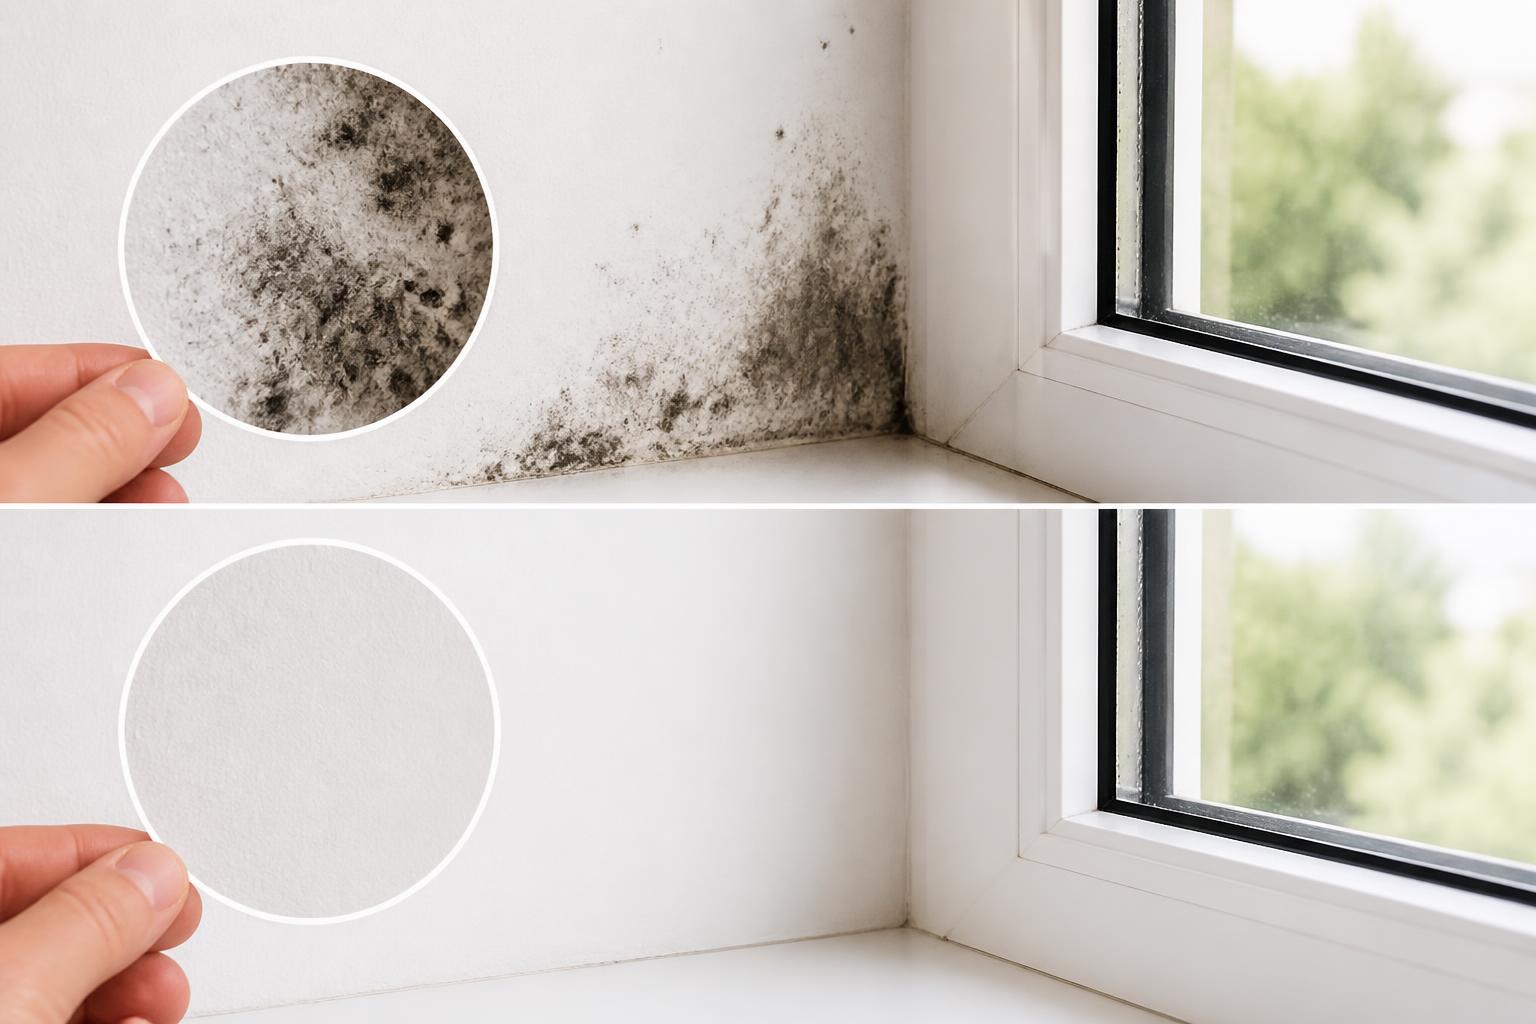
Once the ceiling is bone dry, apply a mold-resistant primer over the cleaned area. Products like Zinsser Mold Killing Primer or Kilz Premium create a barrier that starves any leftover spores of the organic material they need to regrow. Let the primer dry fully per the label instructions, then paint with a semi-gloss or satin bathroom paint. Flat paint is unsuitable for high-humidity rooms—it traps moisture and makes future cleaning harder.
Why Mildew Comes Back and How to Stop It Permanently
Cleaning removes the visible stain, but mildew will return within weeks if the environment stays damp. To remove mildew from a bathroom ceiling permanently, you must fix the moisture source. Here are the three most common causes and their fixes.
Cause 1: Poor Ventilation
The exhaust fan in most bathrooms is undersized for the room. A standard builder-grade fan moves around 50 cubic feet per minute (CFM), but a bathroom of 80 square feet needs at least 80 CFM. Run the fan during every shower and for 20 minutes afterward. If your ceiling still feels humid after showering, upgrade to a fan rated for your square footage.
Cause 2: High Humidity
Bathroom humidity should stay below 60%. A digital hygrometer costs about $10 and tells you exactly where you stand. If humidity consistently exceeds 60% after showers, add a dehumidifier in the hallway outside the bathroom or install a humidity-sensing exhaust fan that runs automatically.
Cause 3: Hidden Leaks
Mildew that returns in the exact same spot within one week often signals a hidden leak—a slow pipe drip, condensate from an attic vent, or a roof leak traveling through the ceiling. Use a moisture meter (available for $20–30) to check the drywall. Readings above 20% moisture content indicate a leak. At that point, call a plumber or roofer. Do not keep cleaning without fixing the underlying water source.
Cause 4: Condensation from Temperature Differences
In colder months, warm moist air hits the cool ceiling surface and condenses, creating a perfect breeding ground for mildew. This is common in bathrooms over unheated garages or with poor attic insulation. Adding insulation above the bathroom or increasing the room temperature during showers reduces condensation significantly.
Troubleshooting Common Issues
| Symptom | Most Likely Cause | Action |
|---|---|---|
| Stain returns in the same spot within 7 days | Hidden leak or persistent condensation | Use a moisture meter; call a plumber or roofer |
| Stain appears in corners or near vents | Poor air circulation | Upgrade exhaust fan or add a ceiling heater |
| Stain is black, fuzzy, or slimy, not powdery or flat | Mold, not mildew | Stop cleaning; call a remediation professional |
| Stain appears only during winter | Condensation from temperature drop | Add attic insulation or increase bathroom heating |
| Ceiling paint peels after cleaning | Bleach damage or overly aggressive scrubbing | Strip loose paint, prime with mold-resistant primer, repaint |
When to escalate: If you see visible dark growth on walls, a musty smell that persists after cleaning, or mildew covering more than 10 square feet, stop DIY and contact a licensed mold remediation contractor. The Environmental Protection Agency recommends professional assessment for any area larger than a standard door panel.
Cleaning Solution Decision Guide
Use this simple code block as a repeatable template for choosing the right cleaner and process each time you face mildew.
Ceiling material: [drywall / painted wood / tile / fiberglass]
Stain appearance: [powdery / fuzzy / black / green]

IF (stain is fuzzy OR black OR green OR has musty smell)
 THEN CALL (mold remediation professional)
 STOP

ELSE IF (ceiling material IS drywall OR painted wood)
 THEN cleaner = "3% hydrogen peroxide, undiluted"
 sit_time = 10 minutes
ELSE IF (ceiling material IS tile OR fiberglass)
 THEN cleaner = "bleach solution (1 part bleach to 10 parts water)"
 sit_time = 5 minutes
ELSE
 THEN cleaner = "commercial mildew cleaner"
 sit_time = per label instructions

AFTER cleaning and drying:
 IF surface feels dry AND stain is gone
 THEN apply mold-resistant primer
 ELSE REPEAT cleaning after 24 hours

IF stain returns within 1 week
 THEN CALL (plumber or mold remediation professional)
This decision flow applies every time you find mildew on a ceiling. Following it prevents damage to your ceiling material and keeps you from wasting effort on the wrong cleaner.
Frequently Asked Questions
How do you get mildew off a bathroom ceiling?
Spray undiluted 3% hydrogen peroxide on the affected area, let it sit for 10 minutes, scrub gently with a sponge or soft brush, rinse with clean water, and dry thoroughly. Seal with a mold-resistant primer once the ceiling is fully dry. This method works on painted drywall without damaging the surface.
How do you tell the difference between mildew and mold on a bathroom ceiling?
Mildew appears as a powdery or fluffy patch in white, gray, or light brown that stays on the surface. Mold looks black, green, or dark brown, has a fuzzy or slimy texture, and often penetrates into drywall. Mold also produces a distinct musty smell that mildew usually lacks. If the stain is black and fuzzy, treat it as mold and consult a professional.
Does white vinegar kill mold on a bathroom ceiling?
White vinegar can kill some mildew strains on non-porous surfaces, but it is slower and less reliable than hydrogen peroxide. The acetic acid may damage paint and grout with repeated use, and vinegar does not prevent regrowth on its own. Use vinegar only for light maintenance between deep cleans, not as a primary treatment for established mildew.
How to permanently remove mold from bathroom ceiling naturally?
Hydrogen peroxide is the most effective natural option for mildew on bathroom ceilings. Apply undiluted 3% peroxide, let it sit for 10–15 minutes, scrub away the stain, dry completely, and seal with mold-resistant primer. No natural method works long-term unless you also fix the moisture source—improve ventilation, lower humidity below 60%, and address any leaks.
The permanent solution to mildew on a bathroom ceiling has two parts that must happen together: clean with the right chemical for your ceiling material, then eliminate the moisture source. Use the decision checklist before you start, follow the ordered steps, and monitor the repaired area for one full month. If a stain reappears within that window, escalate to a plumber or remediation professional rather than cleaning again. By addressing both the spores and the environment, you can keep your bathroom ceiling clean for good.
Explore This Topic
– How to Remove Mold and Mildew from Shower Curtains and Liners
– How to Remove Mold from Shower Walls, Grout, and Caulk
– How to Remove Black Mold from Tile Grout: Deep Clean and Prevention

Sir Cleans a Lot is a professional home cleaning specialist with over 10 years of hands-on experience. He has helped thousands of homeowners tackle stubborn stains, eliminate mold, and keep their homes spotless using practical, science-backed methods. When he’s not testing the latest cleaning products or researching stain removal techniques, he’s sharing his expertise to make cleaning easier for everyone.
