
Essential Electronics Cleaning Kit: The Only Tools You Actually Need
You only need four things to safely clean nearly any electronic device: a quality microfiber cloth, isopropyl alcohol, compressed air, and a set of nylon tools. Most pre-assembled kits include filler items you won’t use, while skipping the one or two specific tools your gear actually needs. Here’s the breakdown of what earns its place in your kit, what to skip, and the exact workflow that won’t damage your devices.
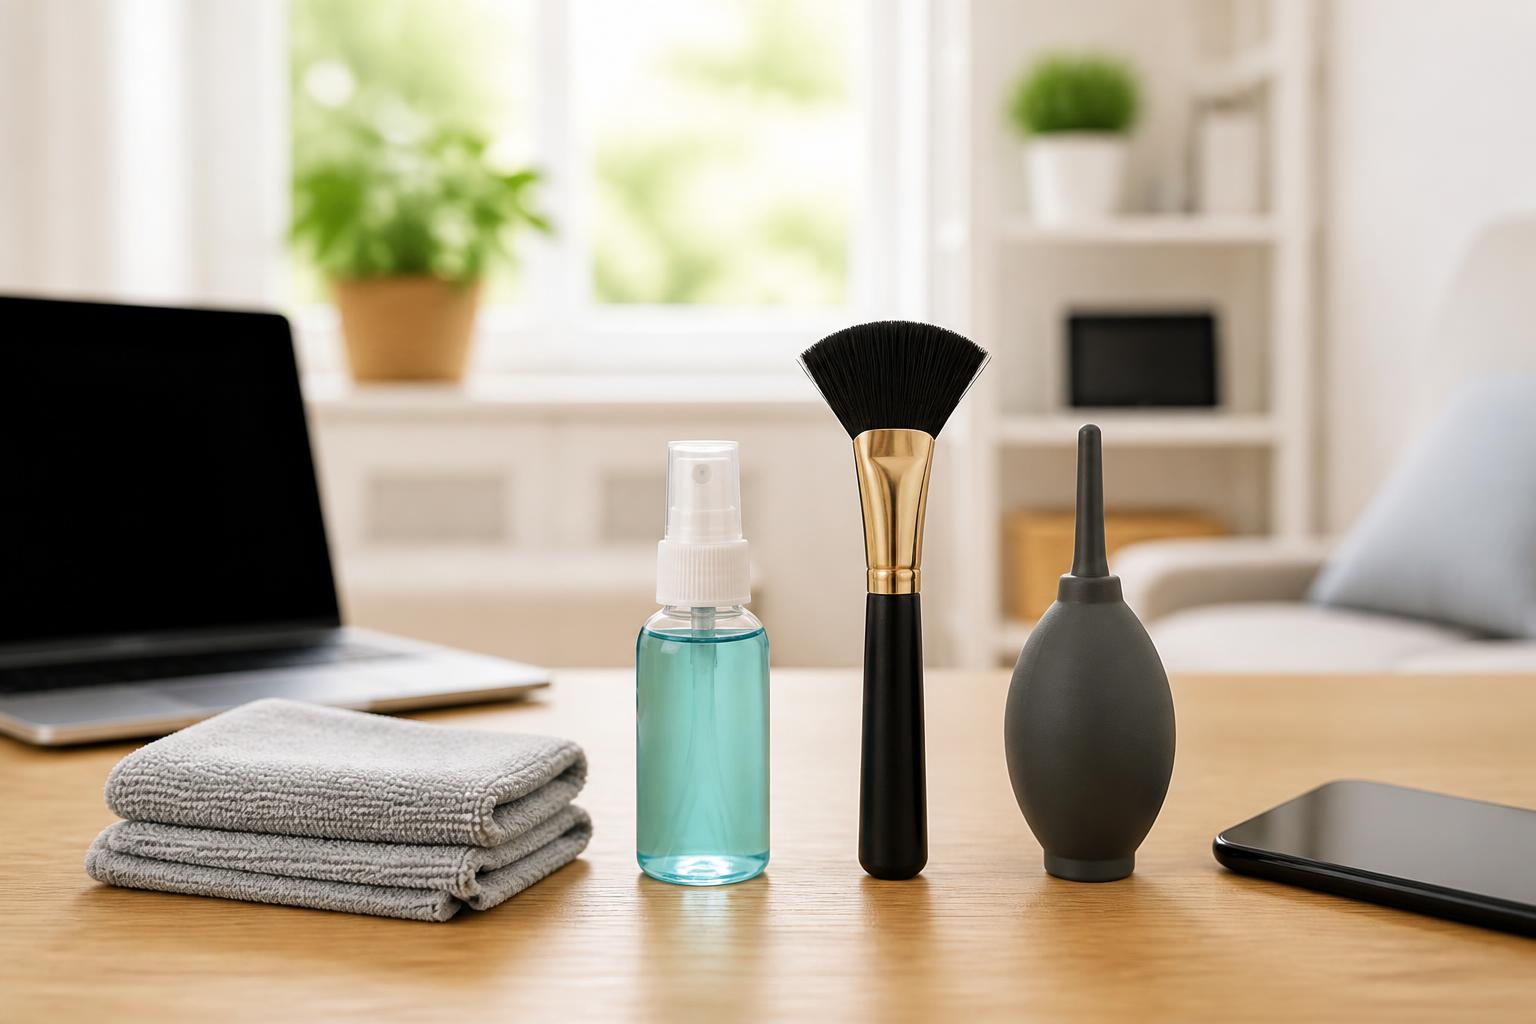
The 4 Must-Have Tools
Microfiber Cloth (70/30 Blend Only)
This is the single most important item. A 70% polyester / 30% polyamide blend traps dust and oil in the fibers instead of dragging them across the surface. Paper towels, terry cloth, and cotton rags leave micro-scratches that accumulate over time—especially on glossy laptop and phone screens.
Operational detail: Wash microfiber cloths separately with no fabric softener. Softener coats the fibers and ruins their ability to pick up oils. Air dry or use low heat.
99% Isopropyl Alcohol
Water alone won’t touch greasy fingerprints, sunscreen smears, or the sticky buildup around trackpads and keyboards. 99% isopropyl alcohol evaporates in under 60 seconds and leaves zero mineral residue.
When 70% is better: If your goal is disinfecting (killing bacteria or viruses), 70% alcohol works better because it sits on the surface longer. Use 99% for dissolving oils, adhesive residue, or cleaning inside ports where moisture is dangerous.
Critical rule: Spray onto the cloth only. Never spray liquid directly onto a device—it will wick into edges, speakers, and charging ports.
Compressed Air (Canned or Rechargeable)
Keyboards, speaker grills, and charging ports collect debris no cloth can reach. Canned air works but loses pressure as the can cools, and budget brands sometimes spit liquid propellant.
Better option: A rechargeable electric air duster. You’ll pay $30–$50 upfront, but it never runs out of pressure, never freezes, and pays for itself after a few cleans.
Operational rules:
– Hold the can or blower upright. Tilting causes liquid condensation.
– Use short 1–2 second bursts. Continuous spray from a can drops the temperature and pressure.
– Tilt the device so debris falls outward, not deeper into the chassis.
Nylon Precision Tools
USB-C and Lightning ports pack in lint and pocket debris over weeks of daily use. Metal tools will scratch the port walls or short-circuit pins. Nylon and plastic tools are the only safe option.
What you actually need:
– A nylon bristle brush (roughly toothbrush size) for speaker grills and port openings.
– A plastic spudger or pick for lifting compacted debris.
What to skip: Metal tweezers, paperclips, and wooden toothpicks. Metal conducts static (risk with powered devices), and wood splinters inside ports.
When a Pre-Made Kit Actually Helps
The decision depends on what you clean most often. One all-in-one kit rarely excels at both large screens and deep crevice work.
- If you clean large screens (TVs, monitors, laptop displays) → buy a dedicated spray-and-cloth kit.
- If you clean phones, earbuds, and laptops with tight ports → buy a precision tool kit with brush sets.
- If you do both equally → buy the spray kit and the tool kit separately. The combo options are usually overpriced and underdeliver on one side.
6-Point Fit Check Before Buying Any Kit
Use this pass/fail check on any kit you’re considering. A “fail” on any item means the kit isn’t worth the money.
| Check | Pass | Fail |
|---|---|---|
| Cloth quality | 70/30 microfiber blend or better | Unknown blend, “soft cloth” only, or includes paper wipes |
| Liquid ingredients | Isopropyl alcohol or specialist electronics formula | “Glass cleaner,” ammonia-based, or generic “screen cleaner” |
| Tool material | Nylon, plastic, or soft silicone only | Included tools are metal (tweezers, picks) |
| Air source included | Rechargeable electric duster | Canned air with no refill value, or no air source at all |
| Gimmick count | 1 or fewer extra items | Kit includes UV light, stylus, carrying case, SIM tool, or other filler |
| Total cost vs. building your own | Kit costs less than $20–$25 | Kit costs more than buying the 4 core items separately |
Comparison: Popular Pre-Assembled Kits
| Product | Best For | What’s Included | Practical Verdict |
|---|---|---|---|
| EVEO Screen Cleaner Spray | Large screens (TVs, monitors, laptops) | Spray bottle with microfiber cloth(s) | Best dedicated screen option. Skip if you need port-cleaning tools. |
| Inesore 32 in 1 Kit | Travel / daily carry (phones, tablets, earbuds) | Stylus, SIM tool, nylon brushes, speaker brush, cloths | High part count with usable tools for ports and crevices. Check cloth quality. |
| Ordilend All-in-1 Brush Set | Desk setup (keyboards, laptops, monitors) | Spray, multi-function brush tool, cloth(s) | Convenient shape. Test brush firmness immediately—too stiff will scratch screens. |
Top Pick: The EVEO Screen Cleaner Spray is the most reliable single solution for large screens, delivering streak-free results without extra clutter. For heavy port-cleaning or travel, the Inesore 32 in 1 Kit provides more usable tools. The Ordilend All-in-1 works as a middle-ground desk option, but verify the brush isn’t too firm.
The Right Way to Clean a Phone or Laptop
1. Power Off and Prep
Unplug the device and shut it down completely. Remove the case and any screen protector. Remove connected accessories. This prevents accidental input and gives you a clear view of the actual dirt.
Checkpoint: If the screen or housing has visible cracks, stop. Do not use any liquid near a cracked screen—moisture will seep inside and permanently damage the display or internal components.
2. Remove Dry Debris First
Use compressed air or a dry nylon brush to clear dust from:
– Keyboard gaps (tilt the device to 75 degrees and spray diagonally across the keys).
– Charging port and headphone jack (use short air bursts, then follow with the brush).
– Speaker grills (dry nylon brush only—never insert a tool into the grill holes).
Likely cause of failure: Skipping this step. If you wipe wet debris into ports, you create a conductive paste that can short-circuit pins.
3. Clean the Screen and Body
Lightly mist a microfiber cloth with 99% isopropyl alcohol (or 70% if disinfecting). Wipe the screen in a single direction—side to side or top to bottom. Don’t scrub in circles, which pushes debris toward bezel edges.
Checkpoint for matte screens: If your laptop has a matte anti-glare coating (common on higher-end Lenovo, Dell, and HP models), check the manufacturer’s cleaning guide. Some coatings degrade with alcohol. Water on a microfiber cloth is safer for these displays.
4. Clean Ports and Crevices
Dip a dry nylon brush into 99% alcohol and gently agitate the charging port opening. Lift loose debris out with a plastic spudger. Repeat until no more lint comes up. For speaker grills, use a dry nylon brush only—alcohol can damage the mesh adhesive on some models.
Stop point and escalation signal: If the port feels loose or the device doesn’t charge after cleaning, stop immediately and take it to a repair shop. You may have loosened a damaged pin rather than debris. Continued probing can break the port entirely.
5. Drying Time
Let the device sit for 60–90 seconds with the lid open (laptop) or screen up (phone). Alcohol evaporates quickly, but give it a full minute to ensure no moisture lingers.
Success check: Screen is streak-free, keyboard feels dry to the touch, ports are lint-free, and the device powers on normally without charging errors.
Quick Answers to Common Questions
Q: Can I use Windex or glass cleaner on my phone screen?
No. Ammonia-based cleaners strip the oleophobic coating on phone and tablet screens over time. Use 70% isopropyl alcohol or a dedicated electronics screen formula instead.
Q: Is it safe to use rubbing alcohol on a laptop screen?
Generally yes, but only if applied to the cloth first. Use 70% or lower for most displays. For expensive OLED screens or matte anti-glare coatings, consult the device manual first—some coatings degrade with repeated alcohol exposure regardless of concentration.
Q: What’s the best way to clean a phone charging port?
Power off the phone first. Use a dry nylon brush or a plastic spudger to lift debris. Avoid metal (conducts static), wood (splinters), and compressed air in direct bursts (can blow condensation deeper into the phone). If the port is packed tight, a small amount of 99% alcohol on the brush helps dissolve adhesive dust—just let it evaporate fully before powering the device back on.
Explore This Topic
– Best Rubber Gloves for Cleaning That Actually Last
– How to Clean and Maintain Your Cleaning Tools So They Last Longer
– Best Car Interior Cleaning Kits for a Professional Finish

Sir Cleans a Lot is a professional home cleaning specialist with over 10 years of hands-on experience. He has helped thousands of homeowners tackle stubborn stains, eliminate mold, and keep their homes spotless using practical, science-backed methods. When he’s not testing the latest cleaning products or researching stain removal techniques, he’s sharing his expertise to make cleaning easier for everyone.